[React] Webpack 프로젝트에 Tailwind 적용하기
이전 프로젝트에서는 기능적인 부분은 쉽게 만들 수 있는 Material-UI와, 불편한 style 방식을 해결하기 위해 styled-components와 함께 사용했다. 하지만 styled-components의 (또는 class)의 Naming과 작은 style 때문에 Component가 너무 많아지는 것이 불편했다. 그래서 다른 디자인 라이브러리를 찾아보던 중 아주 맘에 드는 TailWind를 발견하여 이번 프로젝트에 적용해 보았다.
Tailwind
Core Concepts
TailWind의 Core Concept은 다음과 같다.
- Utility-First Fundamentals
- Handling Hover, Focus, and Other States
- Responsive Design
- Dark Mode
- Reusing Styles
- Custom Styles
장점
- Class Naming 불필요
- Javascript 분리
- 커스터마이징
먼저 utility class를 사용하기 때문에 class 명을 고민하지 않아도 된다. 그리고 BootStrap의 경우 javascript를 사용해서 스타일 ㄴ하는 경우가 많은데, Tailwind는 css로만 구현한다는 점도 아주 마음에 들었다. 그리고 https://tailwindui.com/ 에서 Tailwind로 작성된 다양한 Component를 제공해 주면서도 쉽게 커스터마이징 할 수 있다는 것이 매력적이었다.
단점
- 러닝 커브
- html (jsx) 코드 길이
Low 레벨의 스타일링을 할 수 있는 만큼 utility class를 사용하기 위해 공부해야 한다. 하지만 문법도 간단해서 css를 잘 이해하고 있다면 금방 익숙해질 것 같다. 또 다른 단점이라면 html (jsx)의 코드가 길어진다는 점이 있다.
Tailwind 시작하기
Tailwind 설치
Installation: Tailwind CSS with Create React App - Tailwind CSS
npm install -D tailwindcss postcss autoprefixer- tailwindcss
- postcss
- autoprefixer
Tailwind와, 함께 필요한 dependency를 모두 설치해 주자.
Template 설정
npx tailwindcss init -p실행하면 tailwind.config.js와 postcss.config.js가 생성된다.
- tailwind.config.js
module.exports = {
  content: ["./src/**/*.{html,js,jsx,ts,tsx}"],
  theme: {
    extend: {},
  },
  plugins: [],
};
src 디렉터리의 모든 Html 또는 React Component에서 Tailwind css를 사용할 수 있도록 설정한다.
코드 작성
- tailwind.css
@tailwind base;
@tailwind components;
@tailwind utilities;
Tailwind 문법을 import 하도록 css에 작성한다.
- index.js
import React from "react";
import ReactDOM from "react-dom";
import App from "./App";
import "./tailwind.css";

ReactDOM.render(<App />, document.getElementById("root"));
React의 시작 Entry인 index.js에서 tailwind.css를 import 한다.
- webpack-loader Error
Compiled with problems:X

ERROR in ./src/tailwind.css 1:0

Module parse failed: Unexpected character '@' (1:0)
You may need an appropriate loader to handle this file type, currently no loaders are configured to process this file. See https://webpack.js.org/concepts#loaders
> @tailwind base;
| @tailwind components;
| @tailwind utilities;
프로젝트를 Create-React-App으로 생성했다면 문제 없겠지만, Webpack에서 필요한 loader가 설정되어 있지 않다면 위와 같은 에러를 볼 수 있다. Webpack loader 설정 으로 가서 loader를 설정하자
Tailwind 문법 사용
Tailwind 설정을 마쳤다면 다음과 같이 Tailwind css 문법을 사용할 수 있다.
- App.js
import React from "react";

const App = () => {
  return (
    <div className="bg-blue-300 p-40">
      <h1 className="text-3xl font-bold underline text-center">
        TailWind Test
      </h1>
    </div>
  );
};

export default App;
자세한 Tailwind css 문법은 Tailwind 페이지의 document를 참고하자.
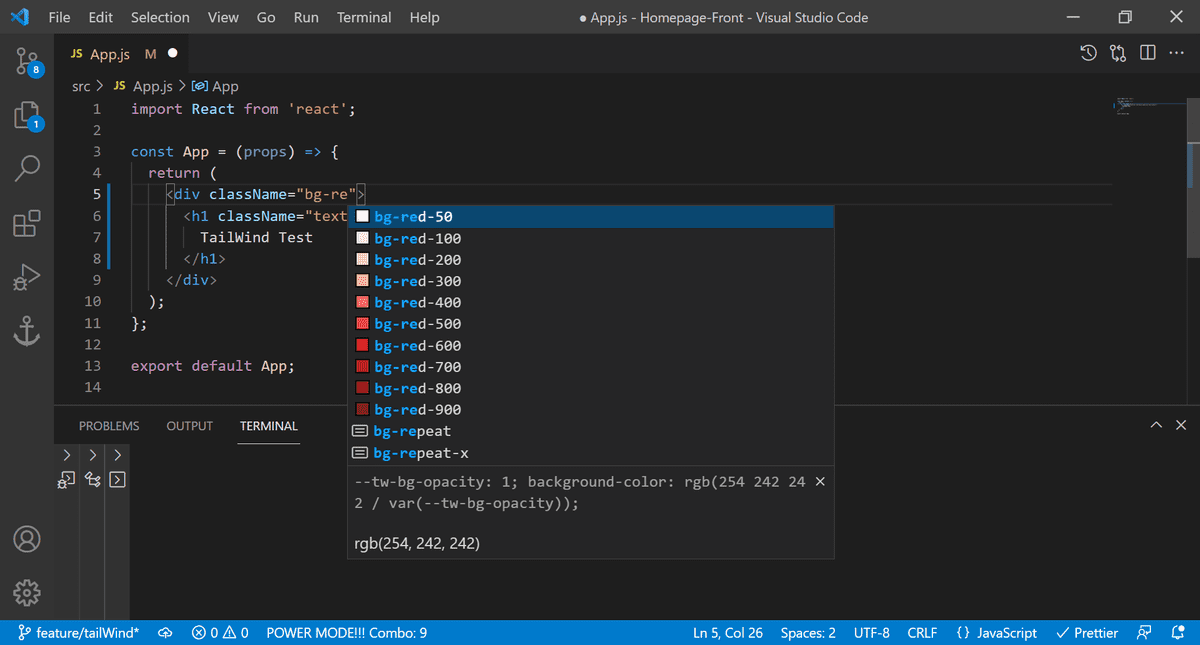
Tailwind CSS IntelliSense
처음부터 Tailwind css에 익숙하진 않을 것이다.
vscode 확장 프로그램 Tailwind CSS IntelliSense를 사용하면 자동완성 기능으로 좀 더 편리하게 스타일 할 수 있다.
Webpack loader 설정
Webpack을 직접 구성한다면 TailWind를 사용하기 위해 style-loader, css-loader, postcss-loader가 필요하다.
- loader 설치
npm install --save-dev style-loader css-loader postcss-loader- webpack.config.js ( loader 설정 )
module: {
    rules: [
		...
      {
        test: /.css?$/,
        exclude: [],
        use: ["style-loader", "css-loader", "postcss-loader"],
      },
		...
    ],
},
module의 rules에 위와 같이 style-loader, css-loader, postcss-loader를 사용하도록 추가해 준다.

